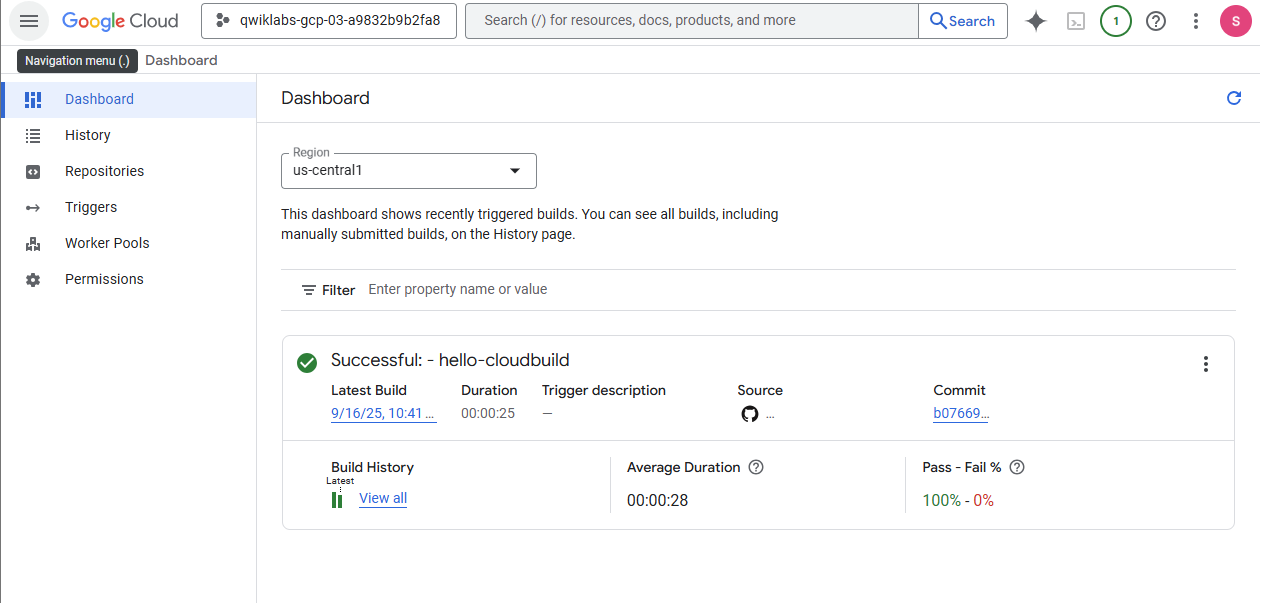
Google Cloud Build là một dịch vụ CI/CD (Continuous Integration/Continuous Delivery) giống như Jenkins, được quản lý hoàn toàn bởi Google Cloud Platform (GCP). Tích hợp sẵn trong GCP, không cần phải setup.
Cloud Build: hoạt động theo mô hình trả tiền theo mức sử dụng (pay-as-you-go), miễn phí 120p mỗi ngày, sau đó $0.003 mỗi phút.

Secret Manager trong GCP giống với HashiCorp Vault, là một dịch vụ quản lý tập trung, an toàn cho các dữ liệu nhạy cảm như khóa API, mật khẩu, chứng chỉ và các thông tin bí mật khác.
Môi Trường
Hiện tại đã có

- Cluster hello-cloudbuild (chắc chắn rồi)
- Artifacts repositories: my-repository (tạo rồi nhớ chạy lệnh:
gcloud auth configure-docker "REGION"-docker.pkg.dev) - Github và account github, git repository: hello-cloudbuild-app
- public, private git key and known_hosts.pub (Xem cách tạo key ở đây)
- Github public key đã add vào github
Sẽ làm
- Github private key thì add vào Secret Manager
Bắt đầu với setup một số biến hay dùng
export PROJECT_ID=$(gcloud config get-value project)
export PROJECT_NUMBER=$(gcloud projects describe $PROJECT_ID --format='value(projectNumber)')
export REGION=gcloud config set compute/region $REGION
Enable APIs for GKE, Cloud Build, Secret Manager and Artifact Analysis
gcloud services enable container.googleapis.com \
    cloudbuild.googleapis.com \
    secretmanager.googleapis.com \
    containeranalysis.googleapis.com
Cloud Build example
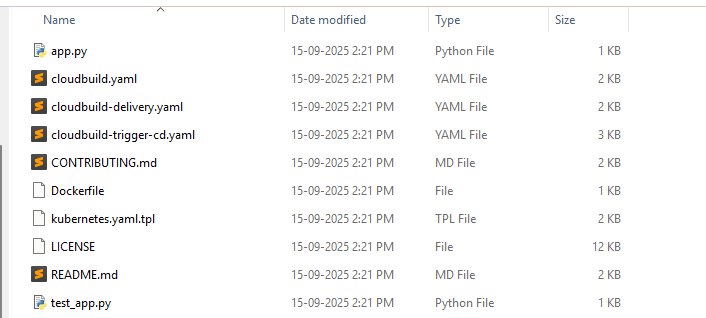
Tạo folder hello-cloudbuild-app rồi chạy lệnh để copy những files vào folder
gcloud storage cp -r gs://spls/gsp1077/gke-gitops-tutorial-cloudbuild/* hello-cloudbuild-app

export REGION="REGION"
sed -i "s/us-central1/$REGION/g" cloudbuild.yaml
sed -i "s/us-central1/$REGION/g" cloudbuild-delivery.yaml
sed -i "s/us-central1/$REGION/g" cloudbuild-trigger-cd.yaml
sed -i "s/us-central1/$REGION/g" kubernetes.yaml.tpl
Khởi tạo Git Repository hello-cloudbuild-app
git init
git config credential.helper gcloud.sh
git remote add google https://github.com/${GITHUB_USERNAME}/hello-cloudbuild-app
git branch -m master
git add . && git commit -m "initial commit"
Lệnh này lấy mã hash 7 ký tự (SHA-1) của commit hiện tại.
COMMIT_ID="$(git rev-parse --short=7 HEAD)"Build và submit image lên Artifact Registry
gcloud builds submit --tag="${REGION}-docker.pkg.dev/${PROJECT_ID}/my-repository/hello-cloudbuild:${COMMIT_ID}" .Add Github private key vào Secret Manager

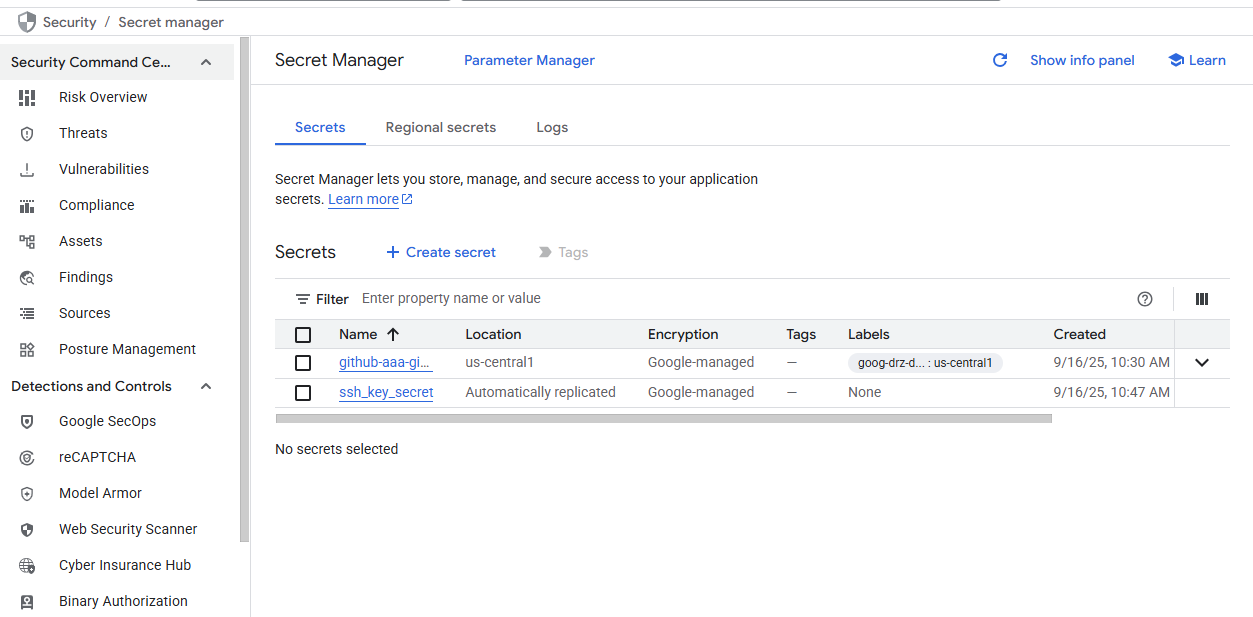
- Secret Manager / Create Secret
- Set Name to ssh_github_secret
- Set Secret value to Upload and upload your
id_githubfile. - Click Create secret
Grant the service account permission to access Secret Manager
gcloud projects add-iam-policy-binding ${PROJECT_NUMBER} \
--member=serviceAccount:${PROJECT_NUMBER}-compute@developer.gserviceaccount.com \
--role=roles/secretmanager.secretAccessor
Create the Continuous Integration (CI) pipeline
The cloudbuild.yaml file, already included in the code, is the pipeline's configuration.


-
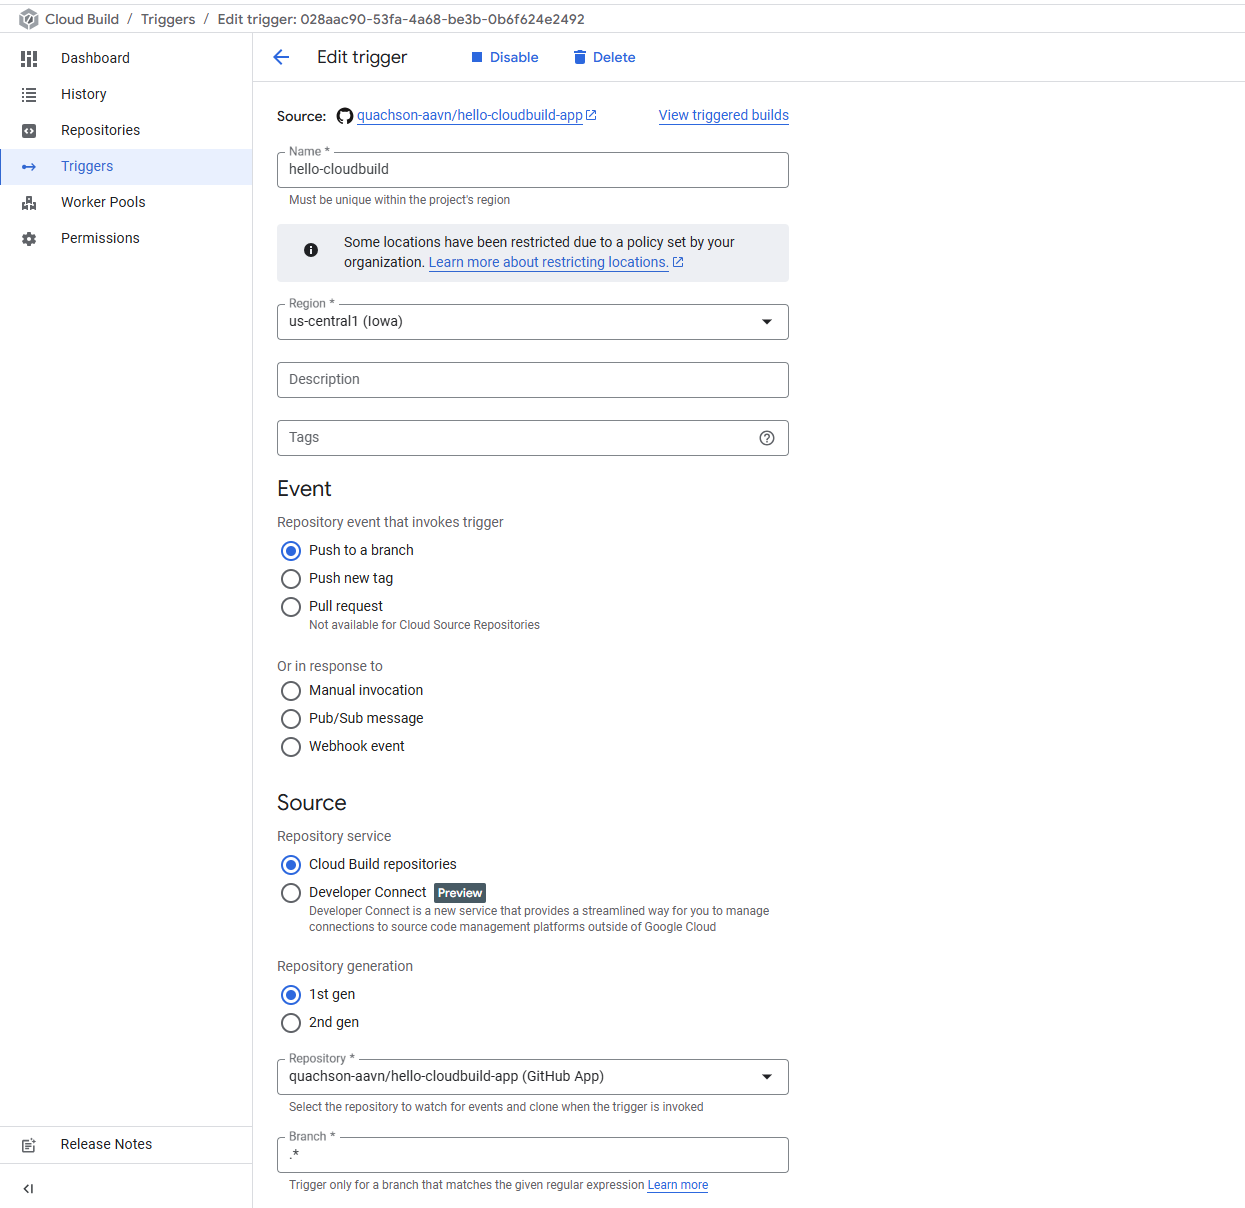
Cloud Build triggers / Create trigger
-
For Name, type hello-cloudbuild. Set Region
-
Set Event to Push to a branch.
-
Under Source, for Repository, click Connect new repository.
a. Select GitHub (Cloud Build GitHub App). Click Continue.
b. Authenticate to your source repository with your username and password.
c. If you get the pop up "The GitHub App is not installed on any of your repositories", follow these steps.
i. Click **Install Google Cloud Build**. Install the Cloud Build GitHub App in your personal account. Permit the installation using your GitHub account.
ii. Under **Repository access**. Choose **Only select repositories**. Click the **Select the repositories** menu and select `${GITHUB_USERNAME}/hello-cloudbuild-app` and `${GITHUB_USERNAME}/hello-cloudbuild-env`.
iii. Click **Install**.
d. Select
${GITHUB_USERNAME}/hello-cloudbuild-appfor Repository. Click OK.e. Accept I understand that GitHub content for the selected repositories....
f. Click Connect.
-
If the Cloud Build GitHub App is already installed in your account, you get the option to Edit Repositories on GitHub.
a. Under Repository access choose Only select repositories. Click the Select repositories menu and select the repository
$${GITHUB_USERNAME}/hello-cloudbuild-appand$${GITHUB_USERNAME}/hello-cloudbuild-env.b. Click Save.
-
On the Trigger page, from the Repository list, click
${GITHUB_USERNAME}/hello-cloudbuild-app. -
For Branch type
.* (any branch). -
In the Configuration section, set Type to Cloud Build configuration file.
-
In the Location field, type cloudbuild.yaml after the /.
-
Set Service account to the Compute Engine default service account.
-
Click Create.

Grant Cloud Build access to GKE
To deploy the application in your Kubernetes cluster, Cloud Build needs the Kubernetes Engine Developer Identity and the Access Management role.
cd ~
PROJECT_NUMBER="$(gcloud projects describe ${PROJECT_ID} --format='get(projectNumber)')"

gcloud projects add-iam-policy-binding ${PROJECT_NUMBER} \
--member=serviceAccount:${PROJECT_NUMBER}@cloudbuild.gserviceaccount.com \
--role=roles/container.developer
Download the sample code from Cloud Storage:
mkdir hello-cloudbuild-env
gcloud storage cp -r gs://spls/gsp1077/gke-gitops-tutorial-cloudbuild/* hello-cloudbuild-env
cd hello-cloudbuild-env
export REGION="REGION"
sed -i "s/us-central1/$REGION/g" cloudbuild.yaml
sed -i "s/us-central1/$REGION/g" cloudbuild-delivery.yaml
sed -i "s/us-central1/$REGION/g" cloudbuild-trigger-cd.yaml
sed -i "s/us-central1/$REGION/g" kubernetes.yaml.tpl
Tham khảo cloudbuild.yaml để biết thêm cách cấu hình Cloud Build.
Reference
- Google Kubernetes Engine Pipeline using Cloud Build